RPG Battle Backgrounds: Sizes, Layout and Style Guide
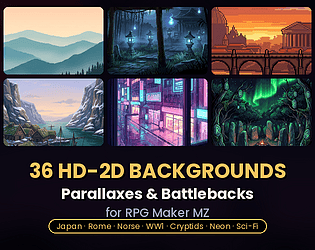
A good RPG battle background is a stage, not a painting. It sets the place and mood, keeps your sprites and battle menu readable, and fits the image size your RPG Maker version expects. If you build in MZ, start with the background pack designed for it, HD-2D Parallax & Background Pack, which offers 36 scenes, then apply the layout rules below to make any background work in combat.
This guide covers what makes a battle backdrop work, the dimensions for each RPG Maker engine, how the same thinking applies to map, title screen and cutscene backgrounds, how to paint a pixel-art sky, and which license terms to check before you ship.
TL;DR
- Keep the busiest detail away from the center and the bottom of the frame, where sprites and the battle menu sit.
- Lower contrast and saturation in the background so characters and effects always win the eye.
- MZ projects commonly use 1000 × 740 pixel battlebacks and PNG images; older engines use much smaller sizes, so check your version first.
- Title screens and cutscene backgrounds follow the same rule: plan the empty space for text, logos and menus before you paint.
- Before a commercial release, confirm each background’s license allows commercial use and what credit it requires.
Table of Contents
- What a battle background has to do
- Sizes, formats and engine differences
- Map backgrounds and parallax layers
- Title screen backgrounds
- Cutscene backgrounds
- Pixel-art sky backgrounds
- Licensing: what to confirm before you ship
- Build your battle scenes with ready-made art
- Our view on battle backgrounds
- FAQ
- Sources
What a battle background has to do
A battle screen is crowded. You have enemy sprites, party members or a status window, damage numbers, spell animations and a command menu. The background is the one layer that should never compete with any of them.
Production teams in bigger studios work from the same principle. Reporting on the Diablo III art process describes how the team separated background, midground action and foreground UI, dimmed the background and raised character contrast to guide attention. You do not need a studio pipeline to copy that. You need a background that is quieter than your sprites.
A practical way to judge any background:
- Squint test. Blur the image or squint at it. A game-art design article suggests this as a readability check: if shapes of enemies and menus still read clearly, the background is doing its job.
- Detail placement. The same article recommends concentrating detail away from the play zone and keeping contrast and saturation below your hero objects.
- Landmarks before decoration. A strategy-game team writing about its battle environments says the ground must make units, paths and choke points readable at gameplay distance. In a turn-based JRPG the equivalent is a clear horizon line and a clear floor where enemies stand.
- Test with the real thing on top. Drop your actual enemy sprites, damage popups and battle window onto the image before you commit to it.
Reading the frame like a stage
Think of three bands. The top third is sky, ceiling or distant scenery: this is where mood lives. The middle band is where enemies stand, so keep it calm and mid-valued. The bottom band belongs to the menu in many layouts. EasyRPG’s format notes for RPG Maker 2000 and 2003 advise avoiding important decoration in the bottom 80 pixels because the battle menu occupies that area. The numbers differ in MZ, but the habit is worth keeping: put your showpiece in the upper part of the picture and let the lower part fade into a simple floor.
Tabletop designers face a similar question when they plan who stands where and what each role contributes. A guide to party composition in tabletop RPGs is a good reminder that clarity about roles comes first and scenery second, on screen and at the table.
Day, night and biome variants
Most RPGs need a handful of environments: forest, cave, plains, desert, snow, castle interior, ruins. Resist the urge to paint dozens of unique scenes early on. Build one strong composition per biome, then create day, dusk and night versions by shifting colors rather than repainting shapes. This is cheaper, keeps your layout consistent, and means players learn where enemies and the horizon will be.
Sizes, formats and engine differences
Dimensions are where most first attempts go wrong. A beautiful 1920 × 1080 image is not automatically a valid battleback.
For RPG Maker MZ, a community specifications summary lists battlebacks in two folders, img/battlebacks1 and img/battlebacks2, at 1000 × 740 pixels. Battlebacks1 is the ground layer and battlebacks2 is the wall or sky layer drawn above it, so a floor and a backdrop can be mixed and matched. The same summary lists parallaxes in img/parallaxes at an arbitrary size, title images in img/titles1 and img/titles2 at 816 × 624 pixels, PNG as the image format and OGG as the audio format. Open your project’s resolution settings in the editor and confirm the numbers match your game before you batch-export.
For RPG Maker 2000 and 2003, the EasyRPG specification lists backdrop sizes of 320 × 160 and 320 × 240 respectively, and says these engines use indexed PNG with an 8-bit, 256-color palette. Transparency and color-profile data may be ignored, so test your export in the engine itself.
Tile size also varies by version. The community RPG Maker Wiki notes that XP, VX and VX Ace use 32-pixel tiles, MV uses 48-pixel tiles, and MZ supports 16, 24, 32 and 48, with its default art based on 48 pixels. If your backgrounds and your tilesets use different pixel densities, they will look like they came from two different games.
| Asset | MZ folder | Commonly listed size | Notes |
|---|---|---|---|
| Battle ground layer | img/battlebacks1 | 1000 × 740 | Floor, grass, water |
| Battle wall/sky layer | img/battlebacks2 | 1000 × 740 | Drawn over the ground layer |
| Parallax | img/parallaxes | Any size | Scrolls behind the map |
| Title image | img/titles1, img/titles2 | 816 × 624 | Keep text out of the art |
Plan the file type early: PNG for MZ images, and keep a layered master file so you can re-export at another size later.
Map backgrounds and parallax layers
Map backgrounds are not the same job as battle backgrounds, but they share the same readability rule: the player must see where they can walk.
In MZ, the tileset system does most of the work. The MZ documentation describes five tile types, A through E: A is the lower layer for terrain and ground, while B through E are upper-layer tiles for surface elements such as trees, bushes and signs, and two upper-layer tiles can overlap for variety. Use that to build walkable ground first, then add decoration.
For what lies beyond the walkable area, a parallax image sits behind the map. In RPG Maker 2003 the parallax option replaces blank map areas with a chosen image and can scroll horizontally, follow the character or auto-scroll, which suits airships and space scenes. MZ uses the same idea through its parallaxes folder.
A pixel-art guide suggests parallax layers for sky, far distance, mid distance, near background and an optional foreground, with farther layers moving slower. It also warns that three layers are often enough and five get hard to manage. For most RPG maps, one sky, one distant silhouette and one mid layer are plenty.
If you would rather not paint these from scratch, our Tilesets & Art category carries tileset packs for MZ and MV, including interior and exterior sets, so your maps and backdrops come from the same visual family.
Title screen backgrounds
A title screen is the first thing a player sees, and it is also the screen where art most often fights with text.
The Summer Engine documentation puts it bluntly: key art is not a poster, because a logo and a menu will cover half of it. Its advice is to plan the empty areas first, keep light away from the menu, use looping motion such as fog or clouds, leave text and logos out of the artwork, and use at least 1920 × 1080 at 16:9 for modern engines. That applies to a general game engine, so for MZ keep to the 816 × 624 title image size above unless you have changed your project resolution.
A few more rules that hold across engines:
- Check against UI placement. A background-art production guide says title backgrounds should be checked against UI placement so focal elements do not cover interface areas.
- Match the mood. An older community tutorial for RPG Maker recommends the Rule of Thirds and matching the image and music to the game’s mood. Put your main subject on a third line, and leave the rest for the title.
- Do not polish too early. The same tutorial advises against focusing on the title screen before the game’s basic theme is done.
If the title music needs to match the art, our Audio Generators create original tracks directly in your browser, so you can settle the mood of image and sound together.
Cutscene backgrounds
Cutscene backgrounds in an RPG Maker game are usually still images or parallax scenes behind dialogue boxes and character portraits. Their job is to say where we are and how it feels.
Game-design writing on cutscenes notes that they can set mood, establish mythology and introduce gameplay clues, and can mark the beginning or end of a level. A separate design analysis warns that a presentation that is too spectacular can make later real-time gameplay look substantially worse. For a small team the lesson is consistency: keep cutscene art in the same style and detail level as your battle and map art, so the leap between them never disappoints.
Practical tips for dialogue-heavy scenes:
- Leave the bottom quarter simple, since the message window covers it.
- Keep faces and portraits on the left or right third and the scenery visible in the center.
- Reuse one background with different lighting for related scenes, which saves production time and makes the world feel connected.
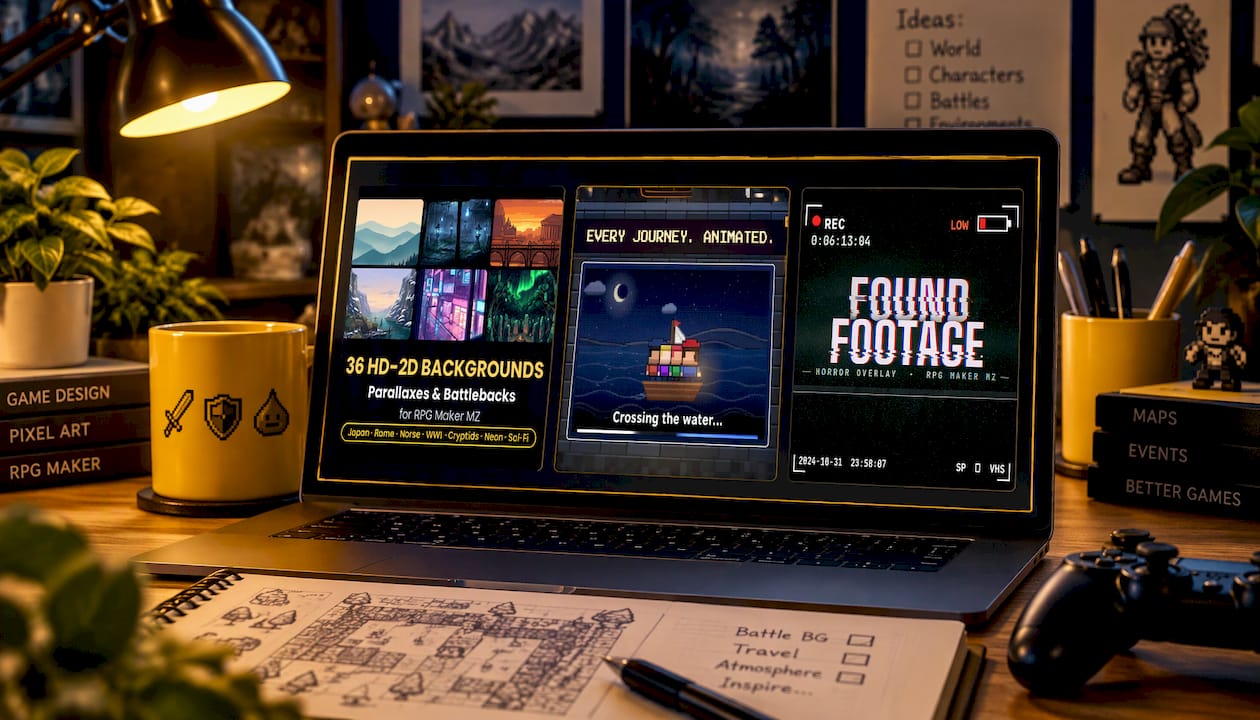
For travel sequences, Travel Scenes MZ offers animated travel windows for RPG Maker MZ, a ready-made way to show a journey without painting new scenes.
Pixel-art sky backgrounds
Skies are the most reusable part of any 2D background, in battle, on maps and on title screens. They are also forgiving, which makes them a good place to learn.
The approach recommended by a pixel-art background guide: match pixel density to your sprites, derive colors from your game palette, start the sky with two or three colors and dither selectively, simplify clouds to one highlight and one shadow color, and reduce contrast, saturation and detail with distance. Then test with actual gameplay on top.
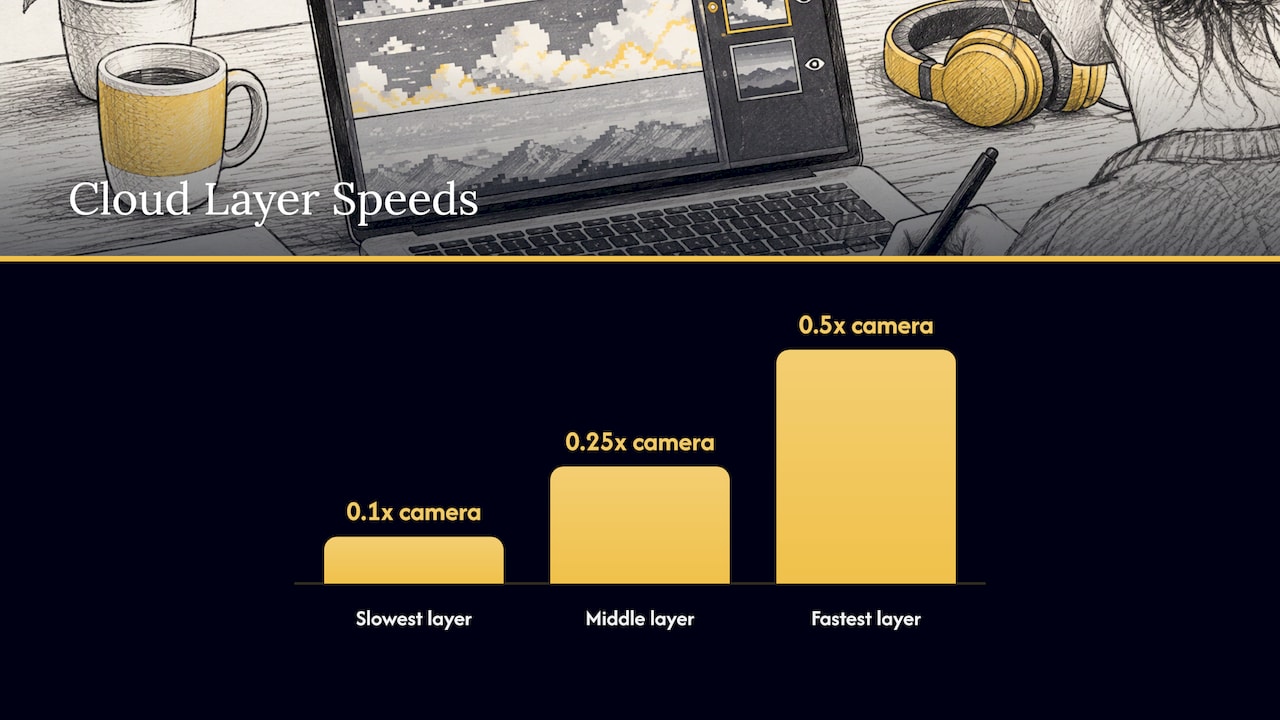
A tutorial on tileable pixel-art skies goes further: build a gradient of three to five palette colors with ordered dithering between bands, put two or three cloud layers on separate layers for parallax at 0.1x, 0.25x and 0.5x camera speed, and use palette swaps for time of day. Its key point is that time of day is a color change, not a repaint: dawn pushes the horizon toward orange and pink, dusk toward purple, and night makes clouds a dark blue-grey with a sparse star layer. The same cloud shapes can serve all four moods.
That single idea can cut your background workload by three quarters. One cloud set, four palettes, and every battle map in your game can have a morning, an evening and a night encounter.
Licensing: what to confirm before you ship
A background you cannot legally ship is worth nothing. Before you use or edit any background asset in a commercial game, read its license.
A game-asset license guide summarizes the common cases: CC0 generally permits commercial use, modification and redistribution without credit; CC-BY permits commercial use but requires attribution; and non-commercial terms are unsuitable for a commercial release. It adds that share-alike terms bring a sharing obligation, no-derivatives terms restrict distributing modified versions, and MIT or Apache licenses generally require you to keep notices.
A simple routine:
- Save the license text and the purchase or download page for every asset in a folder next to your project.
- Note whether you edited the asset, since some terms treat edits differently.
- Record the credit line you owe, if any, and add it to your credits scene as you go.
Our catalog is built around commercial-use asset licensing for RPG Maker MZ and MV developers, so you can build a game and sell it.
Build your battle scenes with ready-made art
Painting every biome, sky and title image yourself takes weeks. If you work in MZ, our HD-2D Parallax & Background Pack gives you 36 scenes to start from, and our Tilesets & Art category covers the tile and art side of the same project. Many of our tools and assets are free, others are sold individually or as bundles, and the Lifetime Supporter Pass covers our tools, music and assets in one purchase.
Browse the packs, drop a scene behind your enemy sprites, and run the squint test from above before you commit.
Our view on battle backgrounds
We build tools for RPG Maker developers, and the pattern we see in the problem is simple: the background is rarely the hard part. Consistency is.
A battle scene works when image, tiles, music and interface look like they belong to one game. That is why we make backgrounds, tilesets, plugins and audio generators for MZ and MV in the same place, with commercial-use licensing, and why many of them are free.
Our advice is to settle the quiet, readable version first: calm middle band, strong horizon, a palette that matches your sprites. Then add mood through color and sound, not through extra detail. A browser-based generator for original music and sound effects lets you match the audio to the scene without installing anything.
Start with a few biomes, finish them, and ship. A small set of coherent scenes beats a large set that does not match.
Brandon
FAQ
What size should RPG Maker MZ battle backgrounds be?
A community specifications summary lists MZ battlebacks in img/battlebacks1 and img/battlebacks2 at 1000 × 740 pixels, saved as PNG. Check your project’s resolution before exporting. Older engines such as RPG Maker 2000 and 2003 use much smaller backdrops.
Do I need two layers for a battle background?
In MZ the battleback system has a ground layer and a wall or sky layer, which lets you combine one floor with several backdrops. This is an efficient way to get many looks from a few images. You can also paint a single full image and place it in the lower layer if your scene is simple.
How do I keep the background from hiding my enemies?
Lower the contrast and saturation of the background compared with your sprites, and keep the busiest detail in the upper part of the frame. Then place real sprites and the battle window over the image and blur it or squint to check that the shapes still read.
Can I use the same sky for battles and maps?
Yes. Keep the cloud shapes and change the palette for dawn, dusk and night, as the parallax sky tutorial above describes. Reusing one sky across battle, map and title scenes also helps the whole game feel consistent.
Sources
- Media file format specifications, EasyRPG Wiki
- GDC 2012: Diablo III’s Art Director Shows Off Design Process
- Video Game Backgrounds: How Studios Design Them in 2026
- Ashes II Dev Journal #6: Setting the Stage for Battle
- RPGツクールMZの素材規格とかまとめ
- Tileset, RPG Maker Wiki
- Map, RPG Maker MZ documentation
- RPG Maker 2003/Map, Wikibooks
- Pixel art backgrounds: build worlds that feel alive
- How to make an animated title screen for your game
- 2D Game Backgrounds & Loading Screens: Ava’s Manor
- Improving Your Title Screen, rpgmaker.net
- How to Build a Better Cutscene
- Better Game Design Through Cutscenes
- How to build a tileable parallax pixel-art sky in Aseprite
- CC0, CC-BY, MIT: A Game Developer’s Guide to Asset Licences
- Party composition guide, Aeternum VTT
Recommended
- Elden-Ring-like Boss/Minboss/Unit Sprite Pack (20x Sheets)
- HD-2D Parallax & Background Pack — 36 Scenes for RPG Maker MZ
- Animated Pixel Sprites: Build Characters That Move
- Mongolian Warband Tribe Tileset | MZ Interior + Exterior
Disclaimer: This article is for informational purposes only. The author is not affiliated with the creators of RPG Maker or the plugins discussed. All plugin names, trademarks, and links belong to their respective owners. The author may include links to external projects or repositories. Readers should review each project’s license and documentation before downloading or using any plugin.